


Get Started with MastaCube
Select your Set-Up Preference

Get Started on Ethernet
Step-by-step instructions for clients setting up MastaCube via an Ethernet connection (Recommended)
Included in box:

Your box contains:
- 1x MastaCube
- 1x Ethernet cable
- 1x Power cable
Initial Set Up
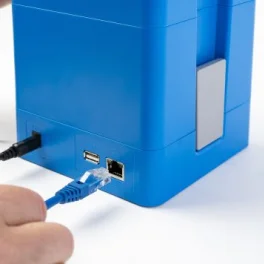
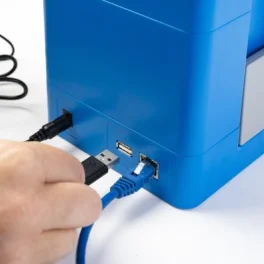
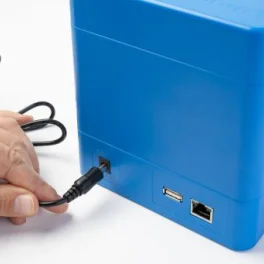
Connect your MastaCube to power and ethernet using the cables provided.
OPTIONAL: Attach USB Keyboard (not included).
Turn on the power, and wait 1 minute for MastaCube to start up.
Set language
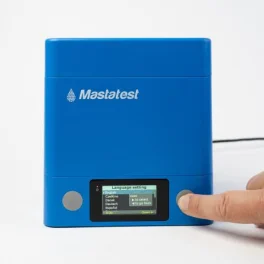
Press left (up) and right (down) grey buttons to scroll to your preferred language.
Hold the right button for 2s to select your preferred language.
Then, when prompted on screen, press the right button to confirm the change.
Register
Select a registration option
Mobile Phone QR

Use your mobile phone camera or a QR app, to scan the QR code on the MastaCube screen.
Click the link shown on the phone screen to be automatically directed to the registration page.
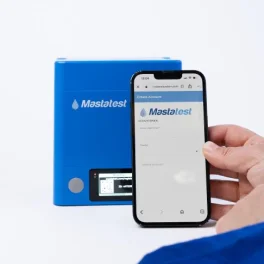
Complete the registration as prompted.
- The MastaCube ID is displayed on the MastaCube screen.
- The Serial Number is on the bottom of the MastaCube.
If you have queries about the registration process, you can find a help guide here.
Desktop or Mobile Browser
Open a web browser, and navigate to www.mastatest.com/register
Complete the registration as prompted.
- The MastaCube ID is displayed on the MastaCube screen.
- The Serial Number is on the bottom of the MastaCube.
If you have queries about the registration process, you can find a help guide here.
Get Started on WiFi
Step-by-step instructions for clients setting up MastaCube via an WiFi connection. (NB: If an ethernet connection is available, we recommend you set up using this instead)
Included in box:
Your box contains:
- 1x MastaCube
- 1x Ethernet cable
- 1x Power cable
Initial Set Up
Connect your MastaCube to power using the cable provided.
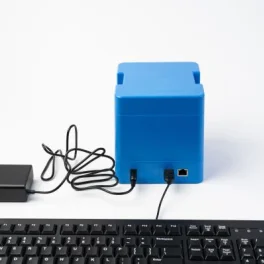
OPTIONAL: Attach USB Keyboard (not included).
Turn on power, and wait 1 minute for MastaCube to start up.
Set language

Press left (up) and right (down) grey buttons to scroll to your preferred language.
Hold the right button for 2s to select your preferred language.
Then, when prompted on screen, press the right button to confirm the change.
WiFi Set Up
Select from the following options to set up your WiFi connection
WiFi QR
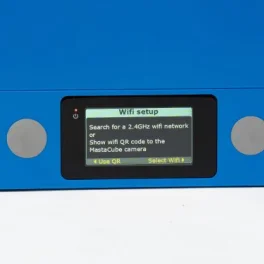
On the MastaCube WiFi Set Up page, select Use QR by pressing the left grey button.
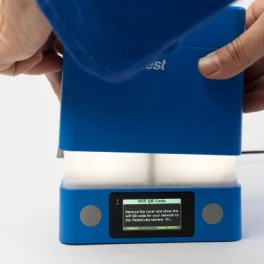
Remove the MastaCube cover by pressing the grey clips on either side, and lifting.
The barrel of the MastaCube will be lit up, showing it is ready to take an image.
On your mobile phone, open the WiFi QR for any network for which you have the password stored.
On iPhone: Open the Passwords app >Select Wi-Fi > Select the network > Tap Show Network QR Code.
On Android: Open the Settings app > Select Network Settings > Select Network & internet (or Connections) > Select Internet (or WiFi) > Select your network > Tap Share the QR
NB: Instructions may vary by phone manufacturer - search for instructions specific to your model online
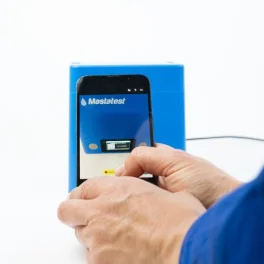
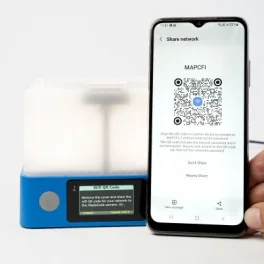
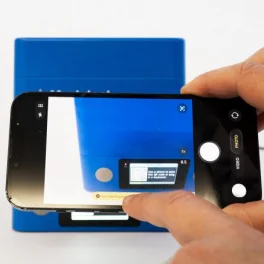
Hold the displayed QR code over the MastaCube. The inbuilt camera will scan the displayed code.
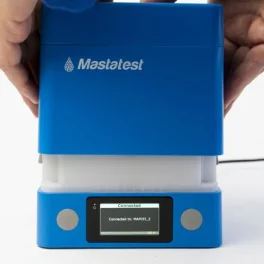
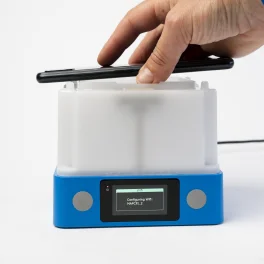
Once the QR has scanned, the MastaCube screen will indicate the connection status.
When it shows 'Connected', replace the cover.
Exit the WiFi set up by selecting OK (press right grey button).
Mobile
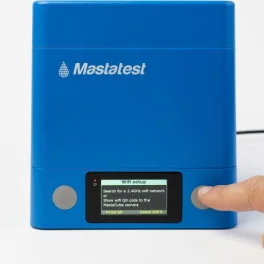
Press the right hand grey button to go to SELECT WIFI

Available networks will display on the MastaCube screen.
Scroll up/down using the grey buttons to find your preferred network. Hold the right button for 2s to select the network.
Using your mobile phone 'camera app (or a QR code scanner) scan the QR code that appears on the MastaCube.
Click the link on your phone to open it.
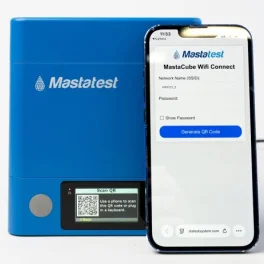
Enter your WiFi password, and click "generate QR code"
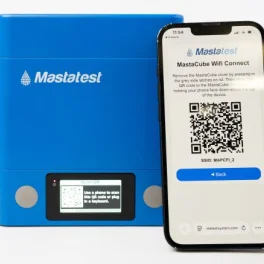
A QR code will appear on your phone screen
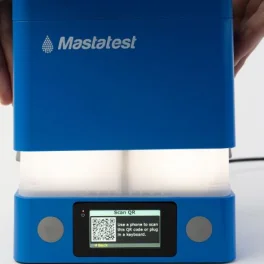
Remove the MastaCube cover by pressing the grey clips on either side, and lifting.
The barrel of the MastaCube will be lit up, showing it is ready to take an image.
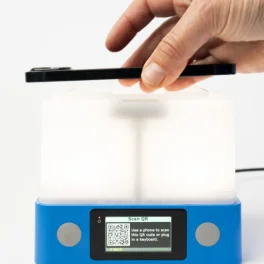
Show the generated QR code on your phone screen to the MastaCube camera
When successfully connected, press the right grey button to exit WiFi set-up.
Ensure you replace the top of the MastaCube promptly.
Select WiFi and enter password on a USB KeyBoard
Ensure you have your USB KeyBoard plugged in to the MastaCube.
On the MastaCube WiFi Set Up page, select Select WiFi by pressing the right grey button.
ALTERNATIVE: Use the right arrow on the keyboard to choose Select WiFi.
Available networks will display on the MastaCube screen.
Scroll up/down using the grey buttons to find your preferred network. Hold the right button for 2s to select the network.
ALTERNATIVE: Use the arrow keys and ENTER/RETURN on your keyboard to navigate and select the network.
Enter the network password on your keyboard. Press ENTER once complete.
Register
Select a registration option
Mobile Phone QR
Use your mobile phone camera or a QR app, to scan the QR code on the MastaCube screen.
Click the link shown on the phone screen to be automatically directed to the registration page.
Complete the registration as prompted.
- The MastaCube ID is displayed on the MastaCube screen.
- The Serial Number is on the bottom of the MastaCube.
If you have queries about the registration process, you can find a help guide here.
Desktop or Mobile Browser
Open a web browser, and navigate to www.mastatest.com/register
Complete the registration as prompted.
- The MastaCube ID is displayed on the MastaCube screen.
- The Serial Number is on the bottom of the MastaCube.
If you have queries about the registration process, you can find a help guide here.